22 May, 2017

Cabin window curtains and bug screens

This is not a rocket science project, but I would like to share my struggle finding the suitable solution.
My wife Verka always wanted the cabin window curtains to provide shade on sunny days or privacy at night. That sounds simple, but Phobos 21 has a a very difficult internal shape around the windows and the windows itself.
The first idea was to buy something already available on the market. However, nothing usable with reasonable price. The second idea was that Verka sewed the curtains and using the self-adhesive Velcro tapes around the window trim, it will be put on the windows.
That works until you realize, that self-adhesive Velcro tape is peeling from the walls leaving the nasty glue gunk behind.
I said, ok, that was cheap kind, so replaced with something more expensive. Bam, again after a few months in hot weather it started to peel again.
Oh well, using the heat gun it took a while to remove all the leftovers, but what next - screw the stainless steel snap buttons or expensive Tenax fasteners?
Nope, I've decided to use the KAM T5 12mm plastic snap buttons and pliers like found on the Aliexpress.com.
It's cheap, plastic does not rust, the holding force is less than SS ones, but still way more than needed for this purpose.
The last struggle was to find really small stainless steel self tapping screw. Then I found the best suitable screw is DIN7981C 2.2x6.5mm.

KAM T5 12mm button base and the tiny screws

Drilling 1.5mm hole has been just enough.

One note about drilling. Since I didn't have the optimal 1.8mm drill, I've used 1.5mm and then beveled the gelcoat to avoid chipping!


Port window

Longer starboard window

It's holding perfectly and easily removable without fear of tearing the soft fabric.
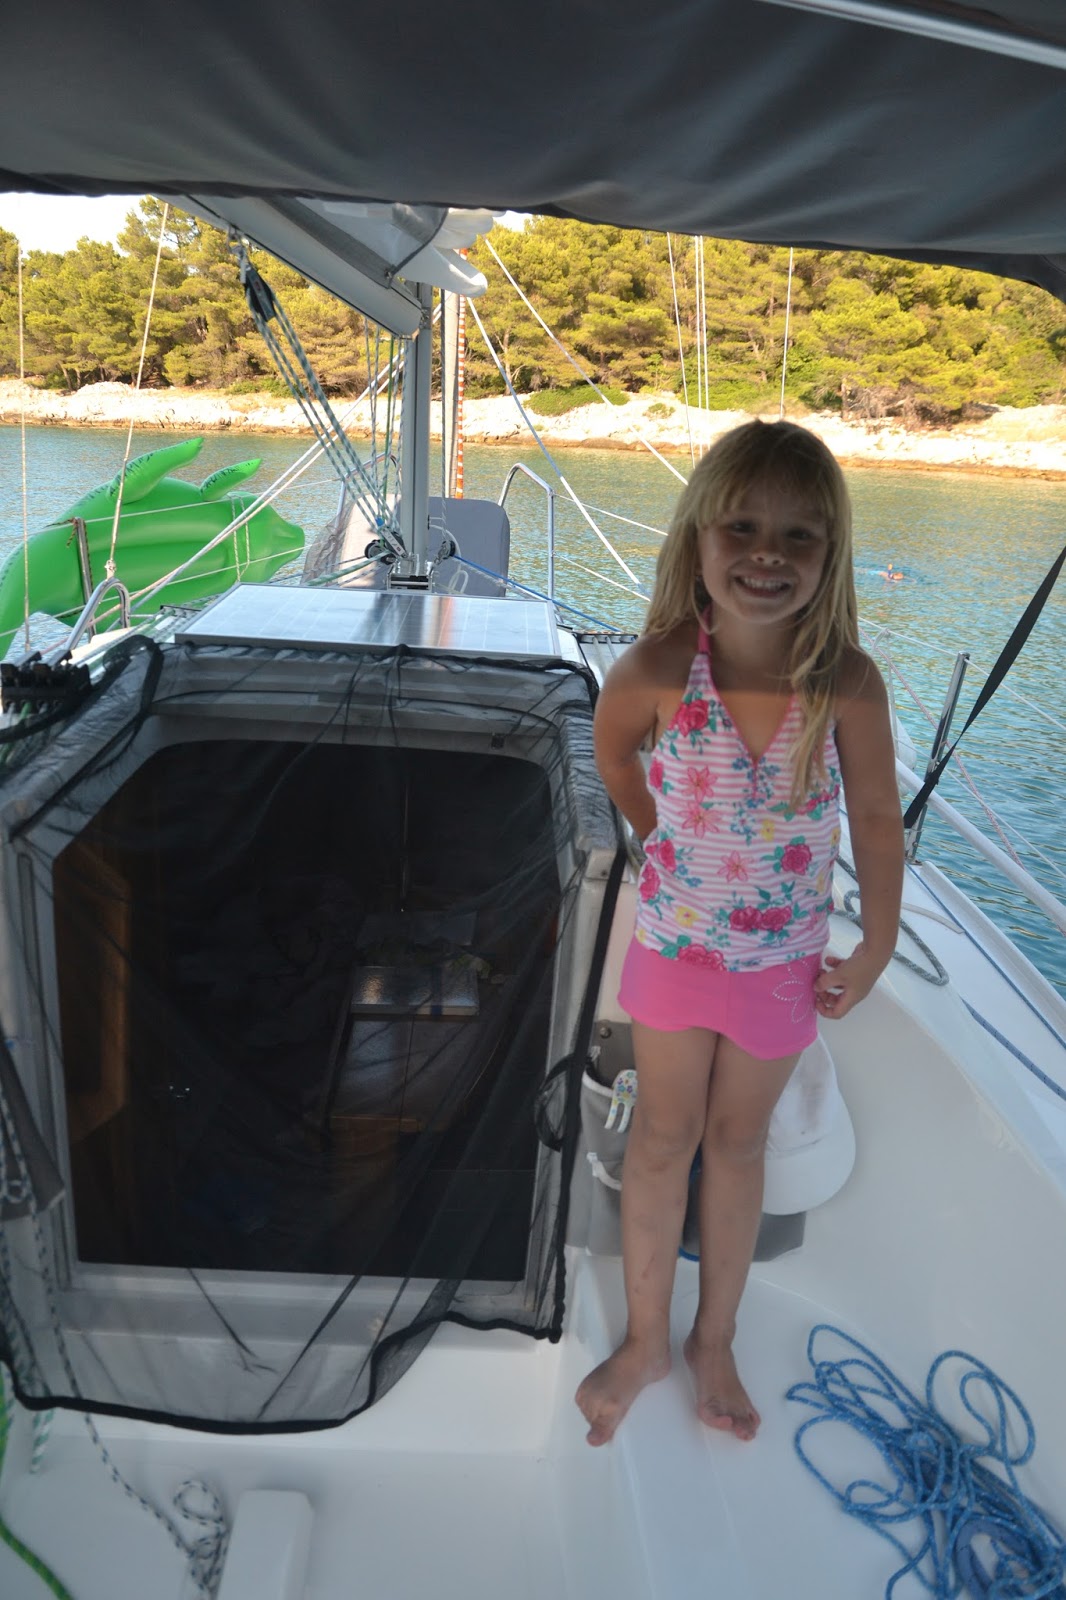
We have also special curtain for the companionway hatch doors, which is from the same fabric, but the top hem is sewn over the 6mm aluminum rod that goes into the grooves for the sliding hatch. Fast and easy.

Companionway hatch sun cover

Companionway hatch bug screen

The small port holes in the head and above the aft berth were not addressed, because they are opening inside and not really a problem.
For the front hatch above the V-berth, we have a special cover made from Sunbrella-like fabric with the rubber bend sewn inside the hem.


Verka also sewed a bug screen with lead beads in the hem which is holding very well even in the gentle breeze.

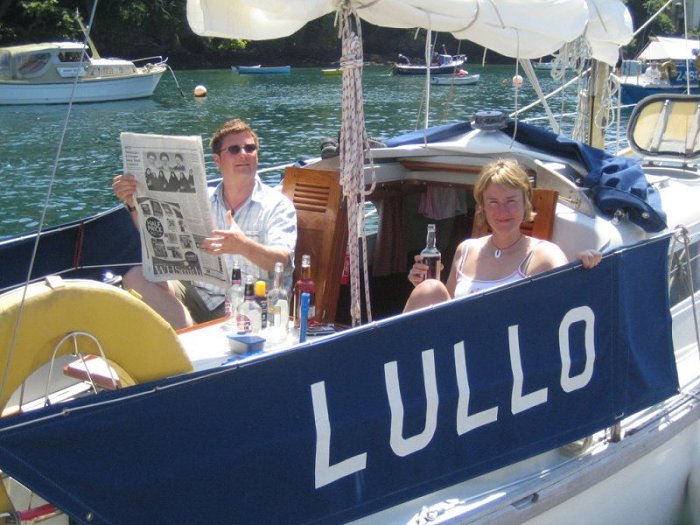
We are also planning, as the English sailors call it, the cockpit dodgers (lee cloths) for the colder sailing areas which could add also more warm and privacy.
Cockpit dodgers (lee cloth)

Happy sailing!

19 May, 2017

Bow ladder and the other stainless tuning

Last year, we were cruising the whole season on our famous dam Orlík on the river Vltava. It's very deep with steep shores so the most common way of anchoring preferred by local freshwater rats is to drop anchor from the stern slowly approaching the shore with the bow. This way you don't have to retract the centerboard, rudder or the outboard motor, like when dropping the anchor from the bow and reversing to the shore.

Example of anchoring with the stern first

This maneuver with bow first can be done easily single handed, however you suppose to have some kind of ladder on the bow or bowsprit.

Example of anchoring on Orlík with bow first, near the castle Zvíkov

The boat on the left is using the kind of add-on foldable ladder to the bowsprit. This is good, but you have to store it in the anchor locker after every use.
The other advantage of this type of anchoring is, that you can reach the shore with dry feet.

A good friend of mine David, lent me his add-on ladder to test it and it was working perfectly.

Foldable add-on ladder test

So was decided to add some foldable ladder to the bowsprit permanently for an easier manipulation.
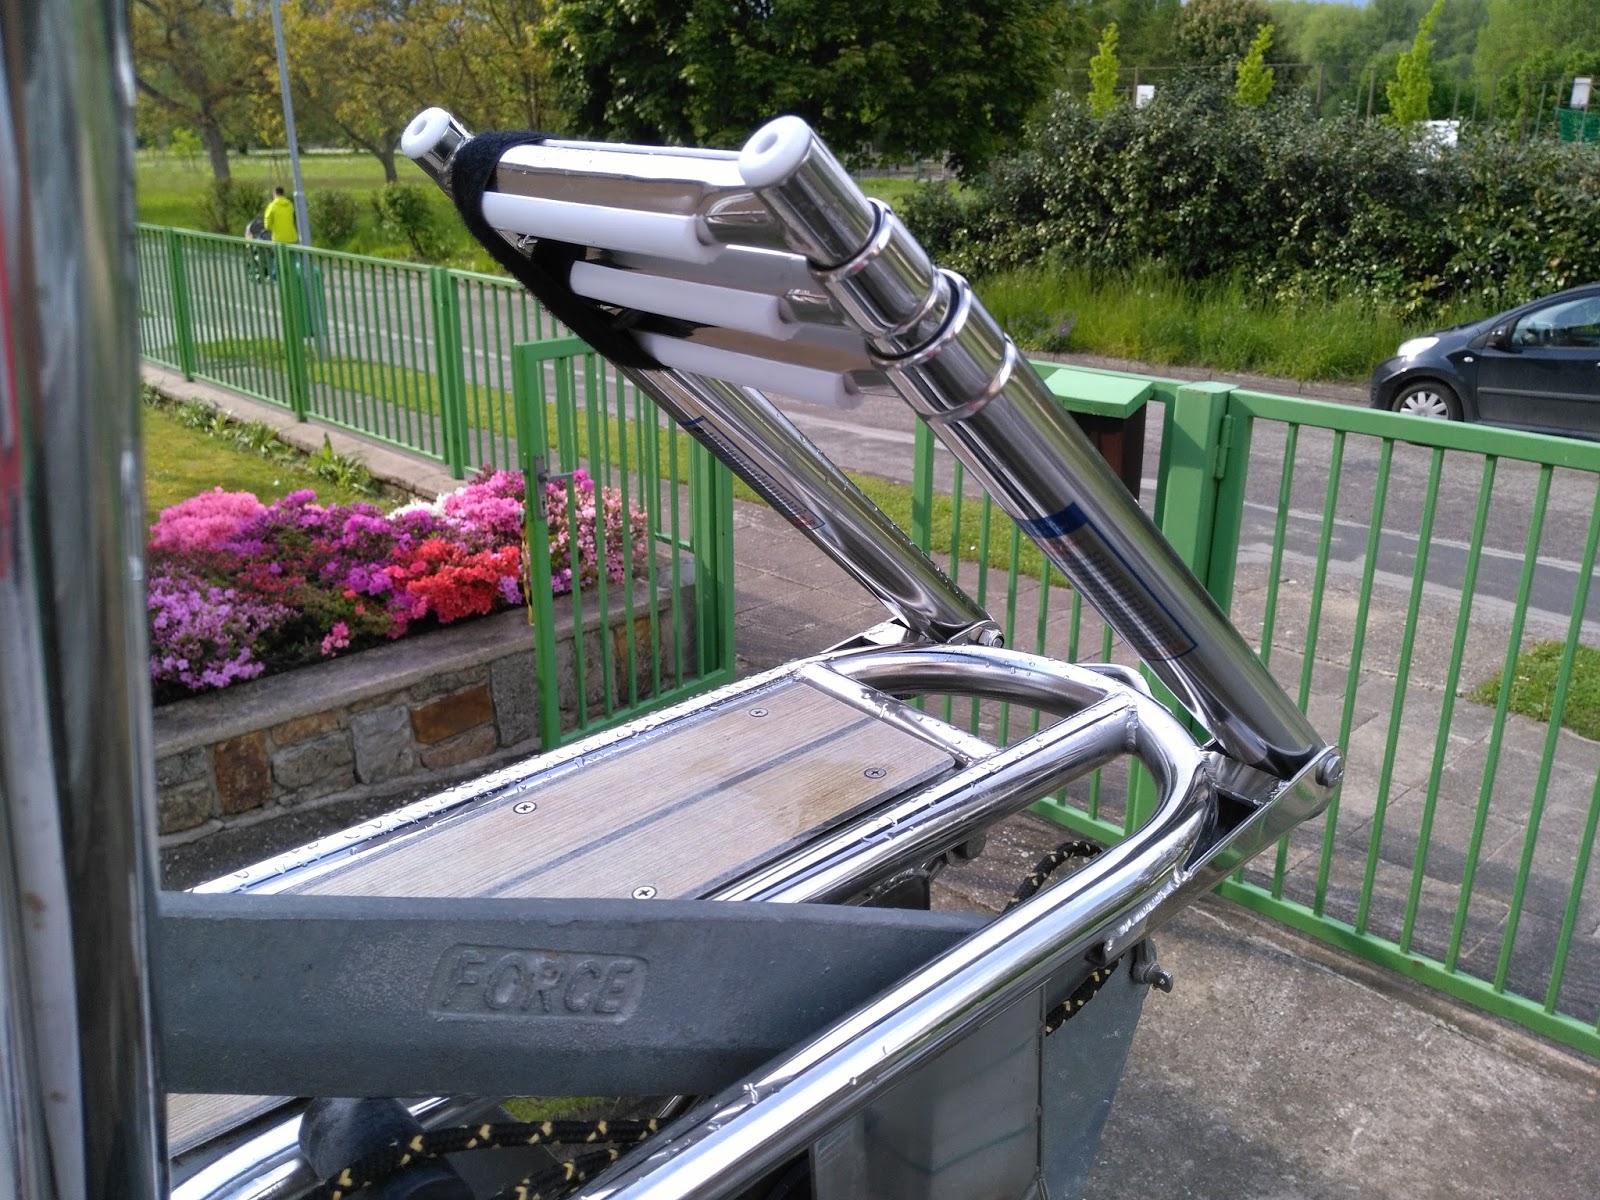
After many hours of checking the various ladders found on the internet, I've found these 210mm narrow, 3 step telescopic ladder from Osculati article #49.541.23.
At first I wanted to bolt it somehow from the top of the bowspirt, but found it bad with too many edges for bare feet and it would collide with the anchor.

Ladder on the top of the bowsprit

Final decision then was to weld it bellow the bowsprit tubing. I've cut the hinges to the shape of the existing tubing and added a small piece of 3mm thick stainless strip as a reinforcement near the bolts.

Modified flange


Then asked the local welder to weld it under the bowsprit and this is the final product.


Welding from bellow


When retracted, it's also usable for boarding from marina pier


Simon was the testing monkey

There is a little flex on the ladder itself, but there is no problem holding me (84 kg) with no flexing on the ladder flange or the bowsprit itself.
The last thing is to add some line to it for easy retraction when standing on the bow, but this has to be tested once on the water.

When I had the TIG welder on the place, I prepared him some more work.
The factory anchor roller is mounted on the plates under the bowsprit which has a pretty sharp edges. I've tried to file the edges a bit, but still chafing the anchor line. So I've fabricated the 4mm thick rods chafe guards and welded them to the front edge of the roller plates.

Anchor roller chafe guards

The last update was to replace the railing clamps for the addition lifelines ends and gennaker sheet blocks with the stainless steel rings. They were created from 5mm thick rod winded around 11mm tubing, then cut with the angle grinder and flattened.

Welded rings for the stern lifelines

Welded rings for the gennaker sheets block

Finally polished everything and one more job finished.

02 May, 2017

Diesel heater installation II.

Here I come with some update after two weekends I had a time to work on this project.
I've realized how hard this could be if I want the best possible quality. The worst job so far is doing the ducting hose covers in the aft berth.
At first I had to create a carton template, checking all right angles, transferring all kinds of odd shapes and curves. Then transfer it back to the plywood, double check, remove from the boat, make tiny adjustment and check it once again. This all over again and again until it will fit perfectly.

gluing cover for the ducting running though the head

I've used my woodworking router to create a right-angle edge molding to hide the plywood joint and to keep the factory look. For this I've routed the 15x15mm oak strips found in the local hobby market.

gluing edge molding

Then it was a time to create ducting cover base which was then glued to the hull. The factory is using the thickened polyester resin so I'm doing the same. At first I'm using the hot glue to temporarily attach it to the hull and then glued it permanently with resin putty consisting of Cabosil, microballons and short chopped glass fibers.

cover base "glued" to the hull

aft berth - hole in the top going to the aftmost part of the head

oak strips for front cover screws

The factory heavily uses the polyurethane adhesives for all wood joining. This is cool as you don't see ugly screw heads, but you are unable to do the future upgrades. So that's why I've decided to use the screws for the ducting cover, so I'm able to add more wiring or whatever time brings.

cover after 3 coats of satin varnish

In the mean time, I was painting the fuel tank shelve and heater holding plate with the top-coat (gelcoat with 2% of paraffin solution)

finished fuel tank shelve with strap in the middle locker

I was worried about the amount of space between the locker hatch and the locker opening so I've installed additional port locker vent and stainless grille.
Maybe it isn't necessary, but before the final installation, I've put the butyl tape stripe on the left, top & right part of the grille to make it more watertight.

port locker vent

bug screen

The last small modification is adding a 4cm height shelf border in the port locker to prevent small parts or tools to fall down inside the locker.
Again stripe of plywood, laminated and top-coated.

in the middle - shelf border

Stay tuned for the next part - hopefully the final installation.

20 April, 2017

Diesel heater installation I.

After some unsuccessful tests to heat a cabin like this one, we've decided to bite a bullet and buy the proper marine diesel heater kit Webasto Air Top 2000 STC with MultiControl.

This new MultiControl allows scheduled times, but mainly fresh air circulation during hot days.

The box with all required accessories (kit no. 9034777B), 60mm ducting and 3 outlets arrived at the Christmas present for my wife, so there is no wonder, she was very happy. Now, we can now stay on board longer when the night temperatures get cold and dry clothes during rainy days.

There will be three hot-air outlets. One in the aft berth, one in the head for clothes drying and one in the cabin.

After some thinking, investigating and getting inspirations from other boat installation, I started to laminate thick plywood panel for the heater holder in the port cockpit locker.

Plywood base plate for the heater holder - port locker

Then, because I had a gasoline tank there and it's fumes could cause a nice bang when the heater is running, I had to move it into the middle cockpit locker. Which means, I had to build the new shelf again.
gasoline tank shelf - central locker

As a glue I've used the thickened epoxy with Cabosil and microballons filler. The next step is to put over a layer of the glass to seal it and paint with the top-coat. However the winter came to visit us again these days, so I have to postpone it a little.

Next thing is to drill some holes for the ducting with 67mm hole saw.

Aft berth and a hole going to the head

Peek into the head liner from aft berth

Hole in head's locker going from the aft

The same locker and hole going to the port cabin seat

Hot-air outlet at the head.
Bulkhead between head and cabin seat

Hot-air outlet in the port cabin seat

For a better access to the ducting and installation, I've cut an additional inspection hole in the port cabin seat.

Port seat inspection hole.

This hole is also useful for routing new wires into the DC distribution panel, which is just above the port seat.

Now I have to build a ductings cover in the aft berth. This is going to be quite a big project so that's why I'm going to split it into several posts. Stay tuned for more.

12 April, 2017

Adriatic sea - Croatia 2016

In the year 2016 we went again to the Adriatic sea with our little boat. This time we were fortunate enough and found new friends - Jirka and Stana with the same boat Phobos 21 called "Lente" and their two kids Luky and Verca. They are great sailors and Jirka is also a good writer, so he wrote a great report from this trip on the pages of Krasa Jachtingu.

I know I'm posting this a little bit late, but I was a little busy doing other stuff, mainly demolishing the garage to be able to get the boat from the distant yacht club onto our property.

Anyway the trip was fine, everything has been working without any issue. The weather was very hot and we had sunny days expect like three days at the end of the vacation, when we were hit by a strong local NE wind called Bora. The maximum gusts we were able to measure was around 47 knots.
I've tried to sail under these conditions when the Bora was getting weaker after after 3rd day, but these winds are just too much to sail on just a piece of genua.
My wife was a bit scary, but the boat proved to be stable when close reaching just with the motor. Healed just a little.


Click on picture to get into the gallery

Small video can be also found on my previous post.

This time we used  a local mobile crane to launch the boat. I cannot say, what is more difficult, but at least, the trailer was saved from the salty water.

Click on the picture to get more details
Some boring statistical data:
  • Distance sailed:143 NM (I know, not much for 3 weeks)
  • Starfish: 5+
  • Various fishes: 40+ (caught by son....fresh are so delicious!)
  • Octopus: 2 (one eaten)
  • Sea urchins: infinite!
  • Dolphins: 0

17 January, 2017

Dalpol Yacht owners group

I was contacted recently regarding the Phobos yacht and as I do personally know some other owners, I thought that it would be a great idea to create the Facebook group called "Dalpol Yacht Owners".

I think we should connect all together and share the ideas, sail trips or even sell your boat.


If you are the Phobos owner or just love these boats, you are more than welcome to join!

12 December, 2016

Outboard bracket modification

We have ordered our boat with an outboard motor bracket capable of holding 10HP four-cycle motor. One of its design specialty is that instead of pulling spring, there is a pushing gas spring/struts. It's made by Topiko.

Outboard bracket with gas springs

However the shipyard installed the default version for 15HP outboard motor which weights 52kg dry thus with 4 gas springs with 600N of lifting force each. We have Mercury 8HP long with electric start which weights "only" 42kg dry. It's not that big issue, you just have to push a little more to lower it down to a running position.

The main problem is that these ordinary automotive gas springs cannot withstand the saltwater, even we are on the sea for only a few weeks. After two seasons or 6 weeks at sea, the terminal eye pads were severely corroded and it started to move a little harder.
The other issue was that the springs were mounted upside down with the gas cylinder heading downward.

Gas springs mounted upside down!

Inside the gas cylinder there is an oil for the rod seal lubrication. If mounted wrong, it can result in a shorter life!

That was a time to buy a new stainless steel gas springs. The Topiko suggests 400N of the lifting force for a 8-10HP motor. There is however a problem that stainless steel gas springs are very expensive, because they are usually custom made. After searching in the European market I had to switch back to China again and bought it there. They are made from A2 stainless (AISI 304), but still better than plain steel.
They made it for me with the 450N of the lifting force.

When I was changing the gas springs on the bracket I also took an opportunity to grease all joints with marine grease.

Finished gas spring replacement

Some technical information:
  • original springs: Krosno FA 21490, length 405mm, stroke 160mm, force 600N, galvanized/painted steel
  • replacement springs: SmartSolu, length 380mm, stroke 150mm, force 450N, stainless steel A2

10 November, 2016

Cabin heating alternative

Heat or not to heat, that is the question. Not literally the question of life and death, but having a cozy cabin during a colder days is a question of sail or not to sail.

We have the Origo alcohol stove so I've asked myself, is it possible to use it for heating?
The Origo company sells this stove under the name HeatPal 5100, which is based on the same principle. But why to buy another gizmo when we can use the existing stove?

The first problem is an open flame. You can simply light it without the pot, but you will not get much of the heat in the space. It's better to put on some radiator.

Then I found there is a nice add-on for the portable camping gas stoves like this one.

portable camping gas stove heater


I've modified the slightly the base flange to fit our alcohol stove and gave it a try.

radiator starts heating up

You can also notice the aluminum sheets that act as heat shielding. It's just a bent sheet which you can simply put on without any screws. We use it also as an oil shielding when cooking.

heating at full power

There is a lot of heat coming from the radiator and you can also observe a nice warm color, however there is a big problem which is the moisture from the burning alcohol, but also mainly deadly carbon monoxide !!!
We have a carbon monoxide tester on board and it started beeping loudly just after a few minutes of burning.

danger level of carbon monoxide just after a few minutes

I've tried to open the cabin hatch slightly, but when there is like 10 °C or lower outside, all the heat escapes very quickly.

Conclusion is: project failed !