
The tiller lock is a wonderful thing when you need single hand the boat and let the tiller go for some simple tasks. There are numerous locker designs, but there is one with a very neat solution called the TillerClutch by WaveFront Marine. It's very easy to operate and is specially shaped to fit tiller shafts that are rounded, like the 1" tubing I have on the boat.
I've drilled and tapped the holes bellow the shaft and simply screwed the clutch onto it.
 |
| TillerClutch mounted bellow the tiller shaft |
The control lines are attached to the stern rails with carabiner on one end and the v-cleat on the other to adjust the tension of the line. The installation manual suggests both ends with the v-cleat for easier handling, but this is working fine for me so far.
 |
| Control lines |
 |
| Detailed view |
This winter, however, my wife bought me a proper autopilot from Raymarine, model ST1000+. That's definitely a different level of single handing and it provides more time for other tasks instead of holding the course by hand. The big advantage over the TillerClutch is that it keeps your boat on the specific course, no matter how the wind or current changes.
Mounting it is the other story and after a lot of "head scratching" sessions in the cockpit, I've installed it without any additional Raymarine removable pedestals or extension rods, however, I had to fabricate a custom tiller bracket from the 3mm thick and 20mm wide stainless steel plate to cope the specific shape of my tiller shaft. Then drilled a hole for the shortened tiller pin and welded it in place.
Then I had to drill the 13mm hole into the cockpit locker lid, prepare the thickened epoxy and glue the brass mounting socket.
 |
| Mounting socket position |
 |
| Epoxy around the socket |
The next step was to mount my custom tiller bracket using the existing screws for v-cleat for the rudder lifting line. It's two small M4 screws, but seems it's holding fine.
At first I've mounted the bracket directly under the tubing, but there was a huge flexing to the sides so I had to add a small piece of the U profile to follow the shape of the tubing and reinforce the bracket to prevent the wobble.
 |
| U profile reinforcement between tiller shaft and tiller bracket |
 |
| Tiller bracket |
 |
| Autopilot in place |

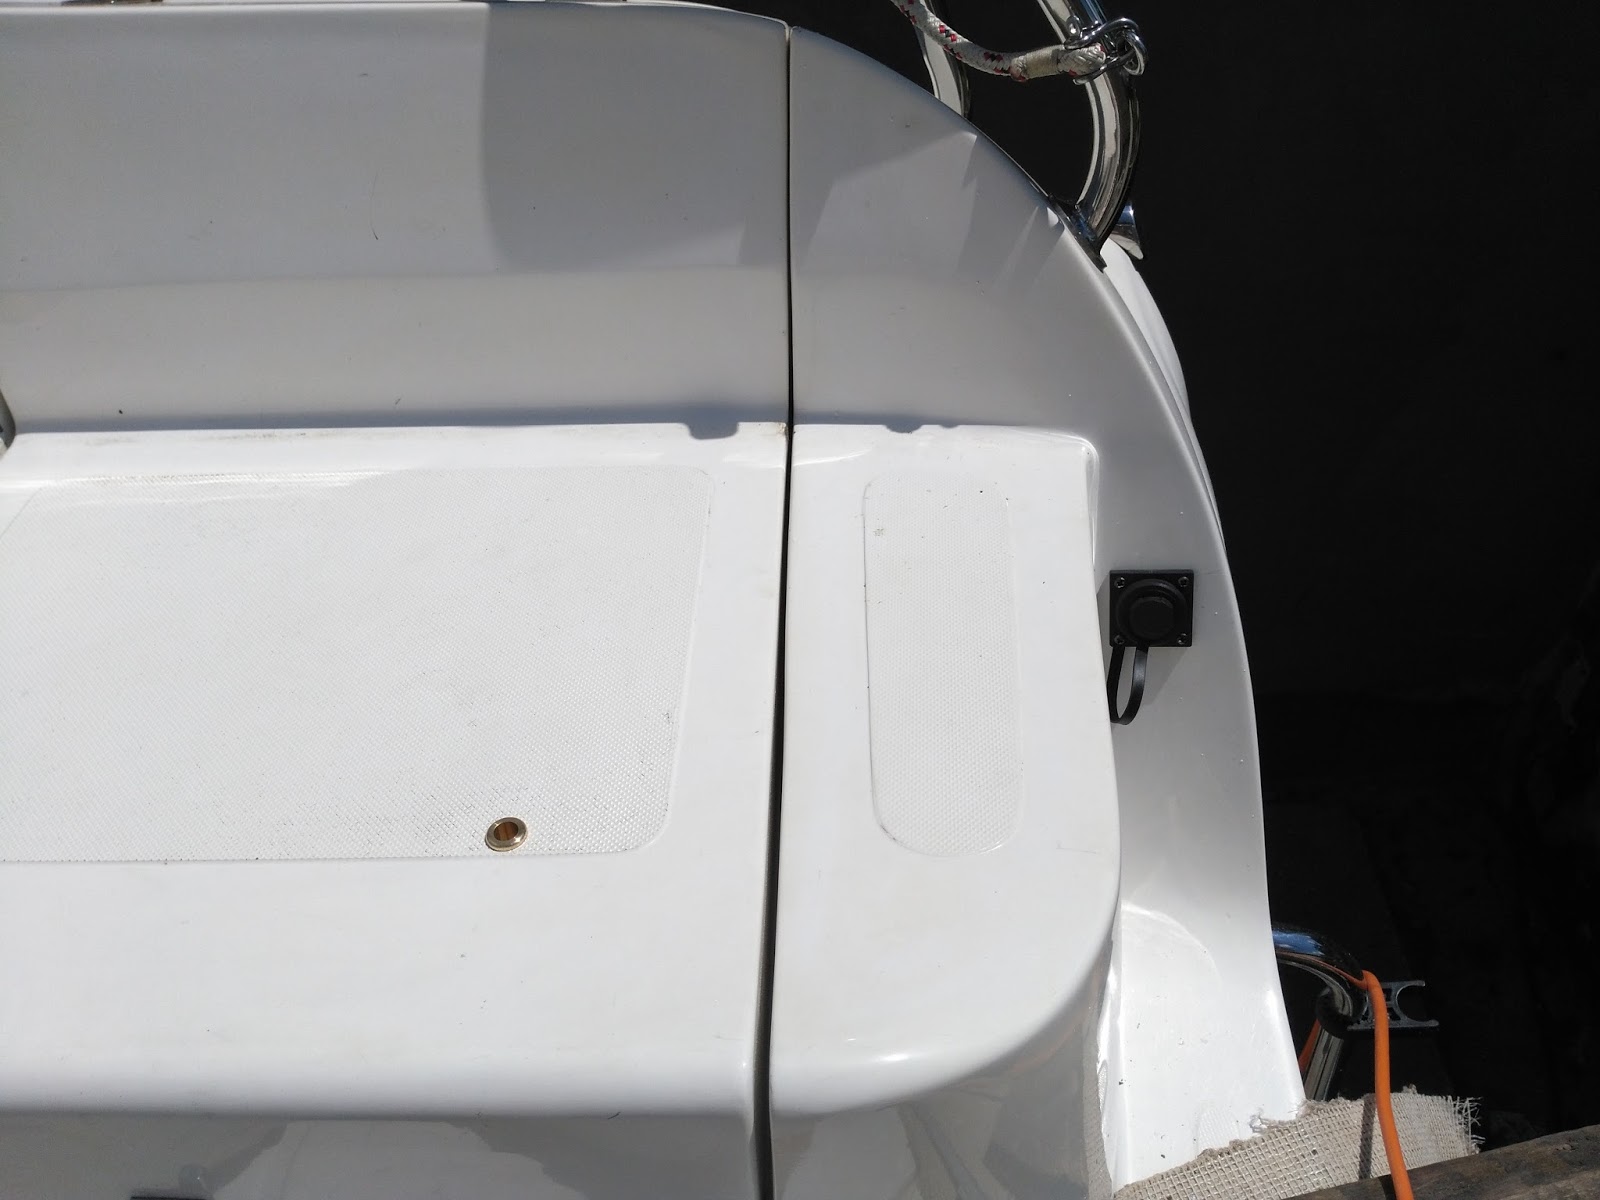
And finally install the electrical socket on the stern where it shouldn't interfere with anything. The cable is routed together with other cables to the main distribution panel and is now using the same switch as for the depth sounder. I've just replaced the 5A fuse with 10A.
 |
| Socket cable |
There is also a possibility to connect it to the map plotter using the NMEA0183 and navigate to the waypoints.
Installation has been done, so let's test it....
No comments:
Post a Comment