28 April, 2014

Cockpit lockers upgrade I.

The stock boat has the preparation for the battery in the middle cockpit locker. The starboard locker has separate space for a flexible water tank and the port locker is completely empty without any preparation.
Since we don't have a flexible water tank, I decided to enhance the balance of the weight in the cockpit. That means to relocate the heavy 24kg 90Ah battery to the starboard locker and install the 23L fuel tank into the port locker.
This relocation result in a completely free middle locker which can be used for bulky items like fenders, spare anchor and so on.
The problem is that I have to build shelves for this item.

This is a shelf for the battery in the starboard locker made from the marine 10mm plywood:

battery shelf - 10mm plywood
additional support for the battery shelf
shelf in place
I don't have more photos from laminating, so I can only say that I've sanded the gelcoat a bit and then laminated with epoxy and two layers of glass cloth. Then I've painted it with one coat of white gelcoat. I'm now waiting for gelcoat wax (5% paraffin solution in styrene) that will be added into gelcoat and paint the last non-tacky top-coat layer.

one coat of gelcoat of battery shelf

The port side locker is made the similar way with dimensions for this vertical gas tank

23L gas tank

gas tank shelf in the port locker
Then I'm going to attach the holding straps and finalize the electrical wiring - battery shunt, solar and shore power charger.
In the mean time, I've installed some new wires from the 12V switch panel back to the battery for the solar charging and for the battery monitor.

So stay tuned for more soon, hopefully.

Companionway hatch board storage

The boatyard offers the holder for the companionway hatch board behind the toiled as an extra, but as I can build it by myself I wanted to save some money for other options.

Anyway, I get some old piece of oak cut 3 identical pieces and then used a router to do a slot for the board and rounded corner.


This is the final installation as I glued and fastened in place. The holes for the fasteners were then hidden by an oak plugs.


The only problem was to find the similar varnish. The Dalpol uses HERLAC Kontracid D 1173 Q polyurethane varnish with satin finish, but it's hard to find it here and even in a small package, because it's used for mass production finishing. So far I've found that INTERNATIONAL Goldspar Satin gives almost the same finish. I've applied two coats by brush followed by wiping with a clean rag. This give's you almost like spray satin finish.

Alcohol stove installation

My wife loves coffee, so her first question when we planned our boat was: When do you install the stove? Well, it will be used also to cook some delicious meals so it needs to be fast anyway.
Originally we planned to install the propane fancy double cook-top with integrated sink, but then we realized it's too expensive to build it properly according to industry standards and maintain in the terms of propane bottle installation and servicing fees. Yes of course, you can put the bottle in the anchor locker, but it's not allowed there with the anchors and chains and so on. It's simply too risky to have a propane inside the boat.
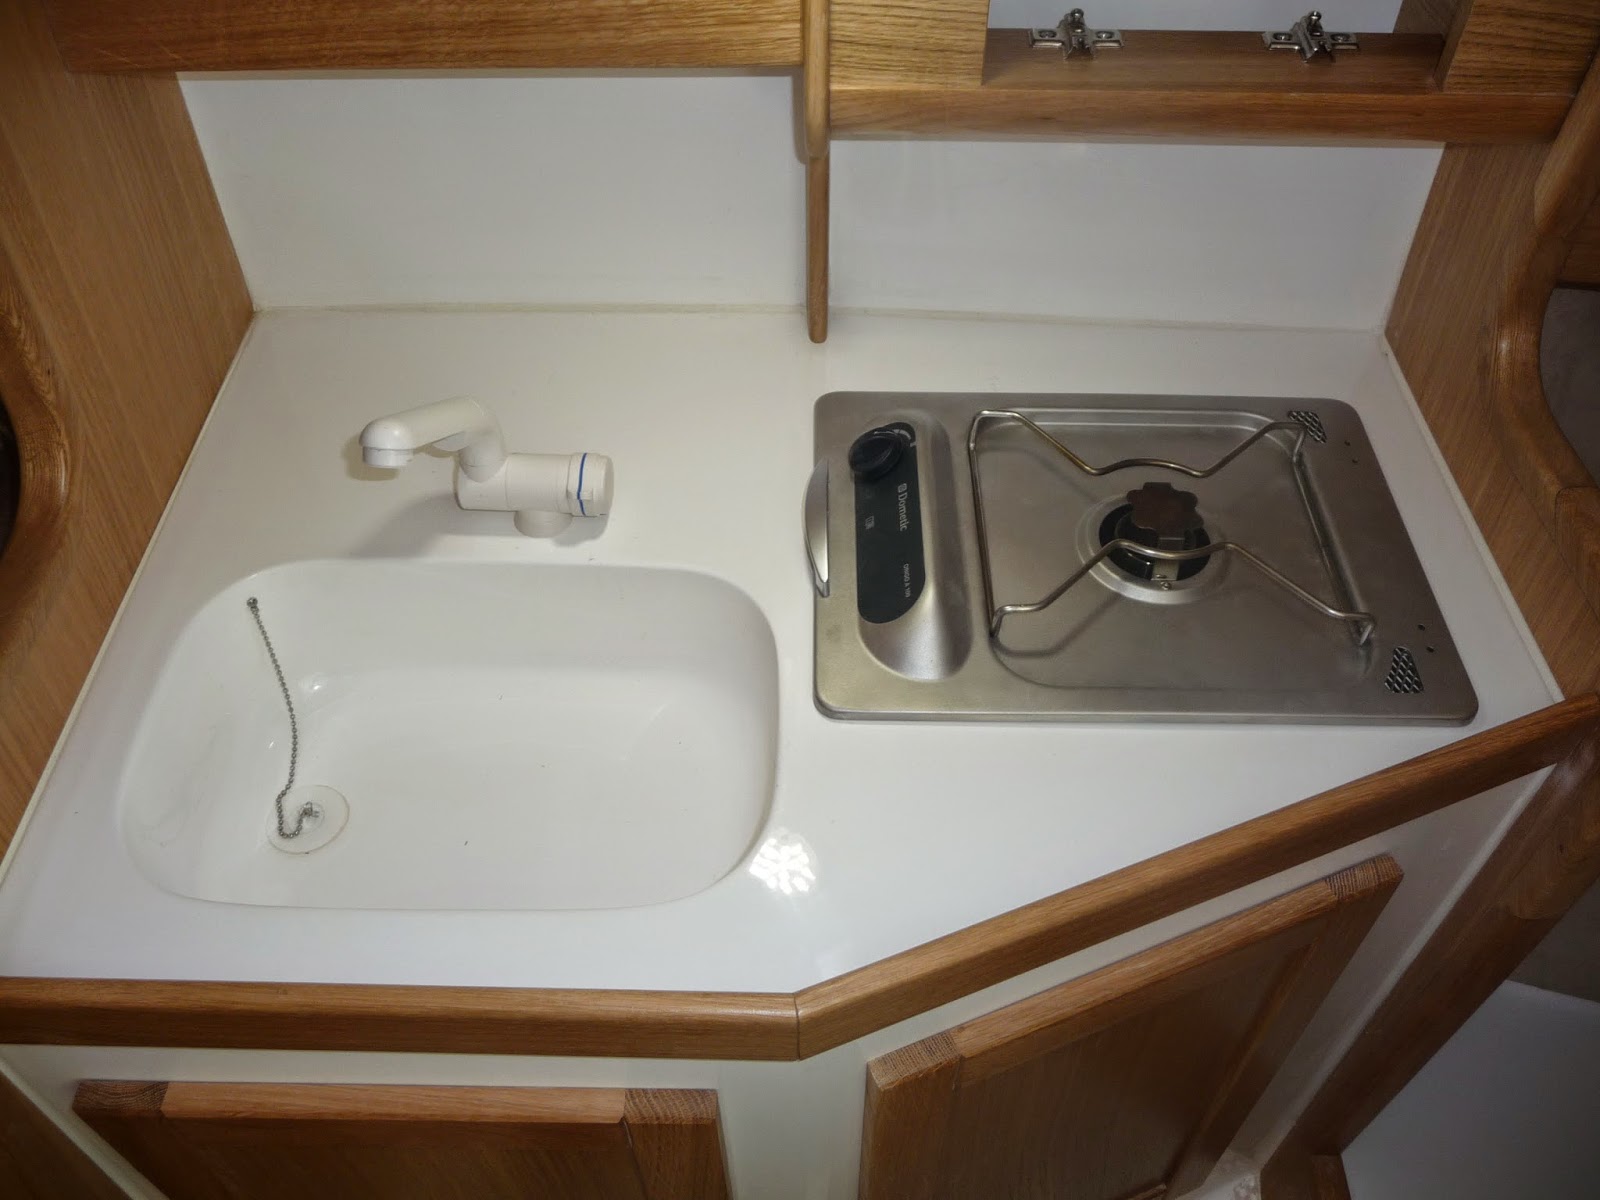
So we choose the other possibility which is an alcohol stove. At first we wanted a double stove, but the galley desk is too small, so we decided for the Dometic Origo A100 flush mount single stove.

The first step was to create a template for cutting the hole needed for the stove. The manual describes an unnecessarily bigger cutout, but I made it just enough for the proper installation.

cardboard template
The next thing was to cut the hole. I drilled pivot holes in the corners and then cut the hole with the electric jigsaw.

final hole with the slot for the magnetic lock
The next problem was the opening hinges. Because I cannot open the stove to a full 90 degrees due to the upper cabinet I was not able to fasten the hinge to the galley. So I added an aluminum L profile to the hinge with the flush mount rivets so the fastening holes are now from the bottom of the galley


closeup of the modified hinge

Next I had to move the position of that holding plate, but that was easy. So now it's almost finished. Just waiting for a gelcoat/topcoat paint of the cutting.


Tadaa... ready for meals... ehm coffee :-)

Inspection hole

Before I can install the depth & speed instrument, I need to drill the inspection hole under the port seating. This is because I will need to see what is really there and mainly to pull through the power and transducer cables. It's also good to have access to this keel area just in case.

Since the boat is in the yacht club, I need to carry all that tools and this is how it looks:


The drilling was pretty straight forward. I simply draw the circle with the diameter smaller by the half width of the drill bit. Then I drilled one 6mm hole to each other. Then I took the metal saw blade to cut the hole and finished it with a smooth file.

measure twice, drill once

dry test of 170mm inspection hole (140 mm hole)

Here you can see through the hole inside the bilge area. The dark color of the bilge area is the encapsulated lead ballast.

key hole view - water inlet and vent & pump feed

centerboard view

The transducer cable will go this way to the sink cabinet in the toilet room:

beautiful eye :-)

final look